Karing
| OS | Min. OS Version | Ecosystem support | Price | Source | Recommended? |
|---|---|---|---|---|---|
| iOS | 15.0 | ✅ | 0$ | AppStore, TestFlight | 👍 |
| ipadOS | 15.0 | ✅ | 0$ | AppStore, TestFlight | 👍 |
| macOS | 12.0 | ✅ | 0$ | AppStore, TestFlight | 👍 |
| tvOS | - | ❌ | - | - | - |
Download the App
The only possible way to install is through the AppStore.
Open in AppStoreSetting up the application
Copy the link
Copy the link (Subscription URL) from the bot.
- Go to bot
- →
📍 Main menu - →
🔐 Profile - → Click on the link (
Subscription URL), it will be copied to the clipboard.

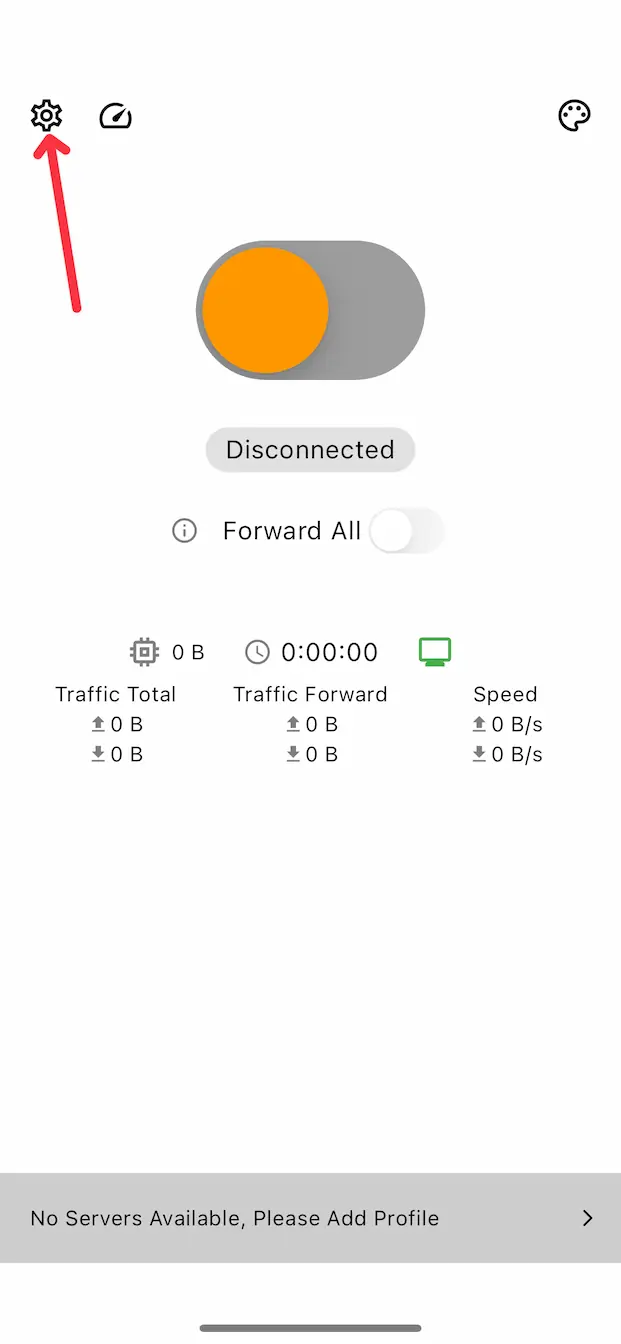
Open Karing
- On the Karing main screen, click on the ⚙️ icon at the top left.
- Find the item
Add Subscription Link, click on it.
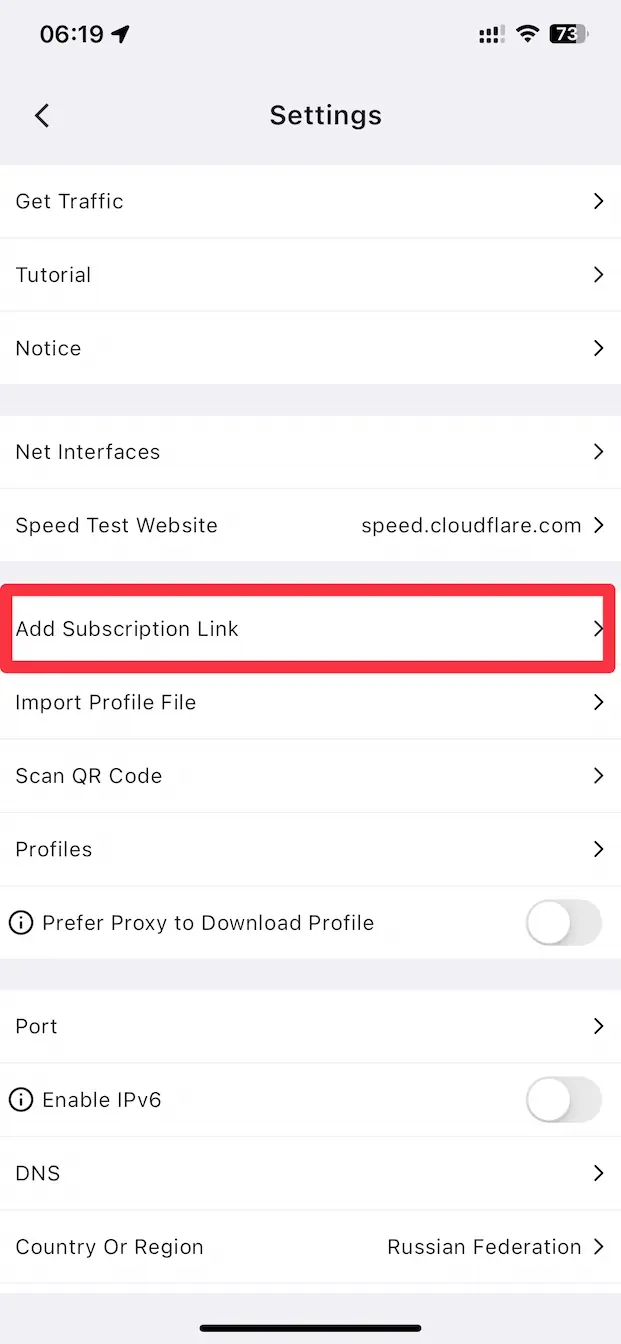
Adding a subscription
Paste the link you copied earlier (Subscription URL) into the Subscription Link field.
After that, click the save icon at the top right to add your subscription.

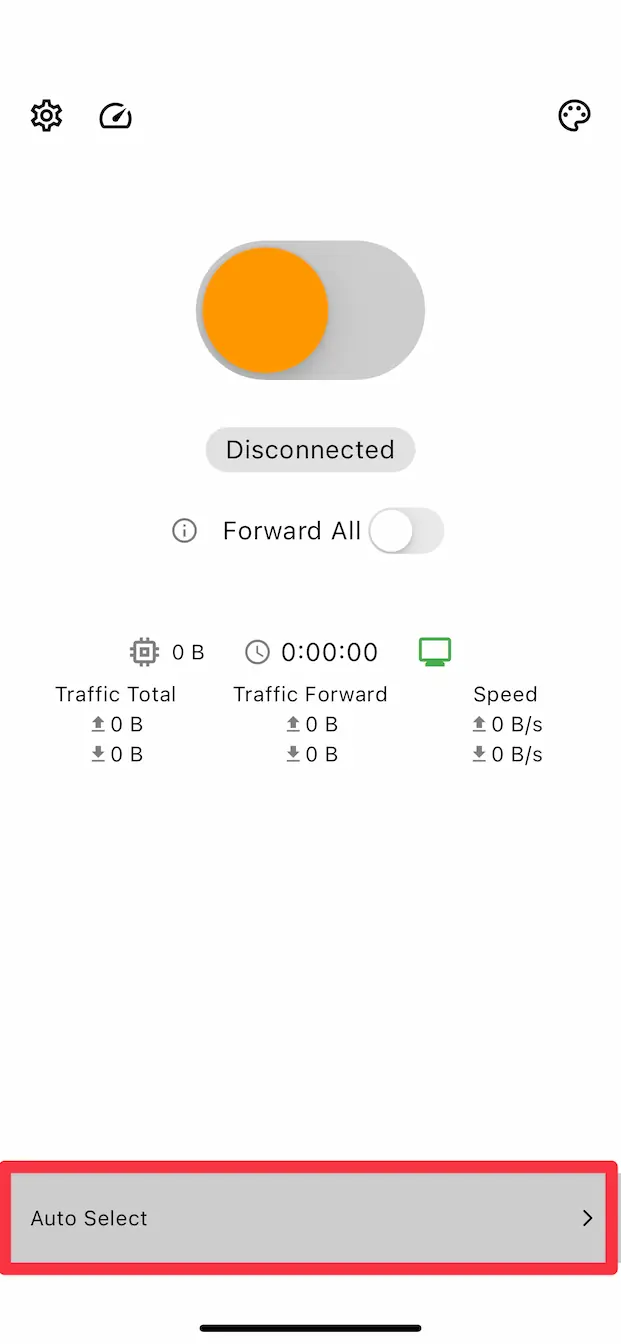
Where and how to choose a server?
On the Karing main screen, at the very bottom there is a server selection button. By default, the app automatically selects the best server for you, but you can choose any other.
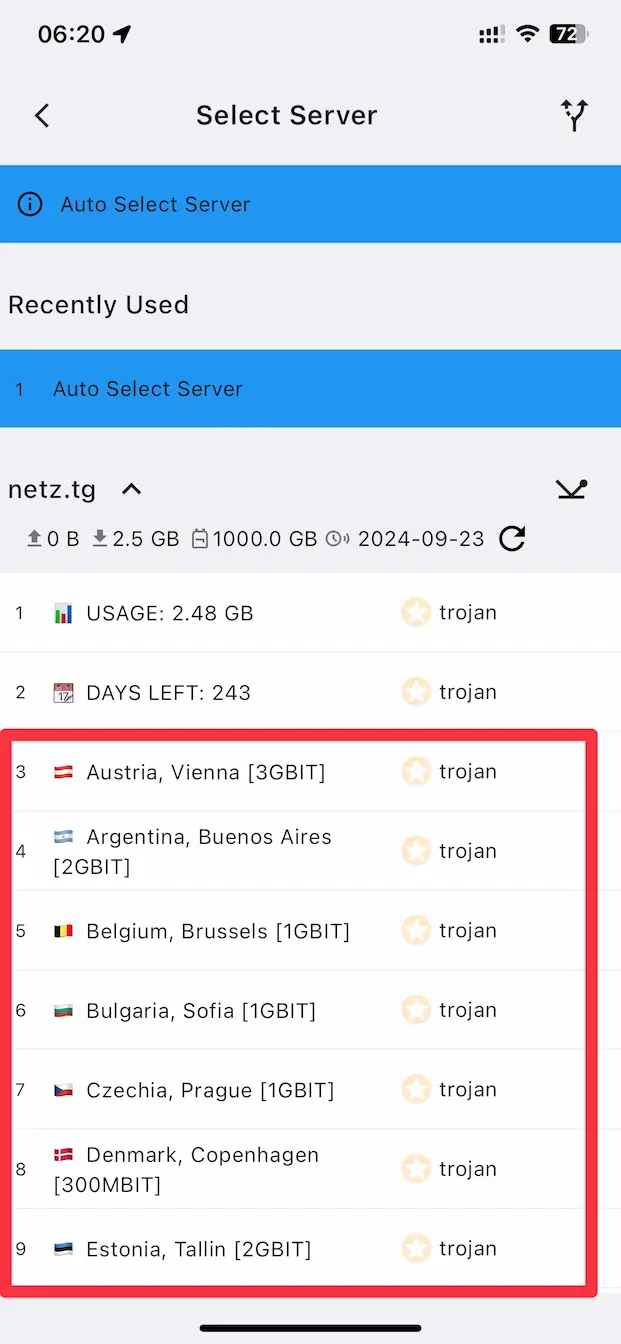
Click on 'Auto Select' to open the list of locations available for connection.
You can choose any country you want. You can switch between them at any time.
But, as a rule, it is recommended to choose a country that is located as close as possible to you.
Turn VPN on/off
Be sure to set the Forward all option to ON.
If you are running on macOS, then set the System proxy parameter to ON.
To enable VPN, click on the big orange switch, after which the VPN will be enabled.

Troubleshooting
I turn on VPN, but there is no connection
If you have configured everything according to the instructions above, but after turning on the VPN your Internet does not work at all, the problem may be in the DNS settings.
- On the Karing main screen, click on the ⚙️ icon at the top left.
- Find the
DNSitem, click on it. - In the window that opens, click on
Proxy server, then select in it:Cloudflare DNS 1.1.1.1. - For the remaining items in the
DNSsection, do the same, the result should be the same as in the screenshot. - After saving the changes, try reconnecting to the VPN.

I want to use IPv6
On almost all servers, in addition to IPv4, we also provide an IPv6 address.
If you also want to have ipv6, then you need to enable this option in the Karing settings.
- On the Karing main screen, click on the ⚙️ icon at the top left.
- Find the
Enable IPv6item and enable it.